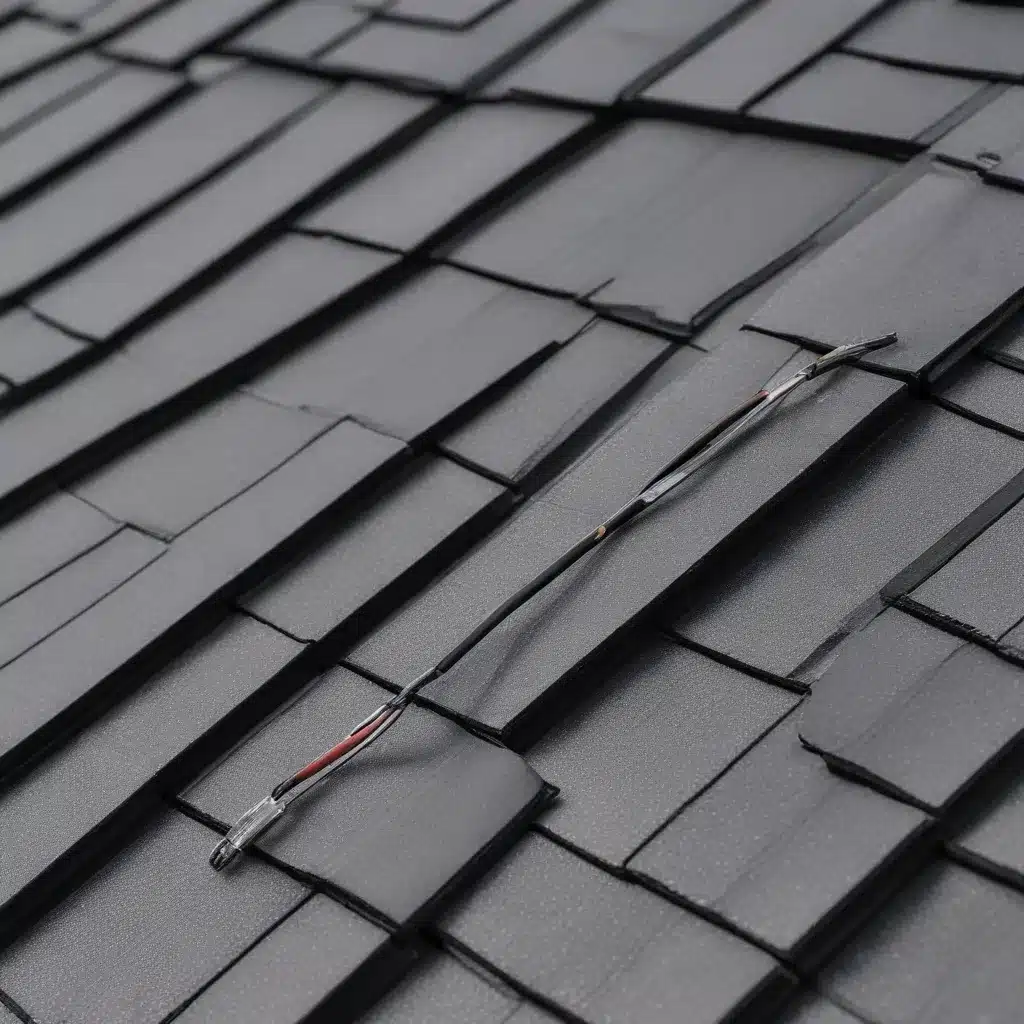
Understanding the Importance of Roof Heating Cables
As the winter chill settles in, homeowners are all too familiar with the frustrating problem of ice dams on their roofs. These frozen barriers can cause significant damage to your home, leading to leaks, structural issues, and costly repairs. Fortunately, roof heating cables offer an effective solution to prevent this seasonal nuisance.
Roof heating cables, also known as heat cables or ice-melting cables, are designed to create a clear path for melting snow and ice to drain away from your home. By strategically installing these cables along the roof’s edge, gutters, and downspouts, you can maintain a consistent flow of water, even in sub-zero temperatures.
In this comprehensive guide, we’ll walk you through the step-by-step process of installing roof heating cables, share expert tips and safety considerations, and help you understand the long-term benefits of this essential roofing maintenance strategy.
Preparing for Roof Heating Cable Installation
Before you begin the installation process, it’s crucial to assess your roof and plan the layout of the heating cables. Start by closely examining the areas most prone to ice dam formation, such as:
- Roof edges and overhangs
- Gutters and downspouts
- Valleys and dormers
Measure the length of your roof’s edge and downspouts, as this will determine the amount of cable you’ll need. As a general rule, plan for about 5 feet of cable per foot of roof edge.
In addition to the heating cables, you’ll need the following tools and materials:
- Shingle clips or roof cable clips
- Cable spacers or clips
- Power drill and screwdriver
- GFCI (ground fault circuit interrupter) outlet or weatherproof outlet box
- Electrical wire and connectors
Installing Roof Heating Cables Step-by-Step
-
Attach Shingle Clips: Begin by securing the shingle clips along the roof’s edge, using a flathead screwdriver to position them under the shingles. Space the clips approximately 16 inches apart, creating a zigzag pattern.
-
Secure the Heating Cable: Start at the roof’s edge and clip the heating cable into the shingle clips, following the zigzag pattern. Make sure the cable extends slightly into the gutter to prevent ice formation.
-
Downspout Installation: At the end of the gutter run, form a loop with the cable and secure it with a clip. Feed the cable down through the downspout, ensuring it reaches the bottom.
-
Heat Sensor Placement: Mount the heat sensor on the side of your house, in a location that accurately represents roof conditions. Use screws and a power drill to secure the sensor in place. Position the sensor to detect both temperature and moisture accurately.
-
Electrical Connection: Plug the heating cable system into a GFCI-protected outdoor outlet, if available. If you don’t have an outlet, you may need to install an outdoor electrical box and run the wire through the sill and into your home’s electrical panel.
Optimizing the Effectiveness of Your Roof Heating Cables
To ensure your roof heating cable system operates at its best, consider the following tips:
Comply with Local Building Codes
Before starting the installation, check with your local building department to understand any specific requirements or regulations regarding electrical installations in your area. This will help you ensure compliance and safety.
Choose the Right Heating Cable Type
Select a heating cable that is designed for your roof’s material and the weather conditions in your region. This will maximize the system’s efficiency and longevity.
Consider Hiring a Licensed Electrician
If the installation involves complex electrical work, it’s best to hire a licensed electrician. They will complete the project correctly and safely, ensuring your system is properly integrated with your home’s electrical system.
Maintain the System Regularly
Before each winter season, inspect your roof heating cables for any signs of wear or damage. This simple maintenance will help extend the life of your investment and ensure optimal performance.
The Benefits of Roof Heating Cables
Investing in a roof heating cable system offers numerous benefits that can protect your home and save you money in the long run:
- Prevent Ice Dam Formation: By melting snow and ice at the roof’s edge, heating cables keep water flowing freely, reducing the risk of ice dams that can cause leaks and damage.
- Preserve Roof Integrity: Ice dams can lead to shingle damage, deterioration, and even roof collapse. Heating cables help maintain the structural integrity of your roof.
- Protect Gutters and Downspouts: Accumulated ice can weigh down and even break your gutters and downspouts. Heating cables keep these essential drainage systems functioning properly.
- Enhance Home Safety: Falling icicles and ice chunks can pose a serious hazard to people and property. Roof heating cables help prevent these dangerous conditions.
- Increase Energy Efficiency: By reducing the need for snow and ice removal, heating cables can lower your energy costs associated with ice dam cleanup and potential water damage repairs.
Conclusion
Roof heating cables are a powerful tool in the fight against the winter’s harsh elements. By taking the time to properly plan, install, and maintain these systems, you can safeguard your home, preserve your roof’s longevity, and enjoy the peace of mind that comes with a well-protected property.
For more information on roofing services, maintenance, and modern solutions, be sure to visit Roofers in Northampton. Our team of experienced professionals is committed to helping homeowners like you keep their roofs in top condition, no matter the season.

