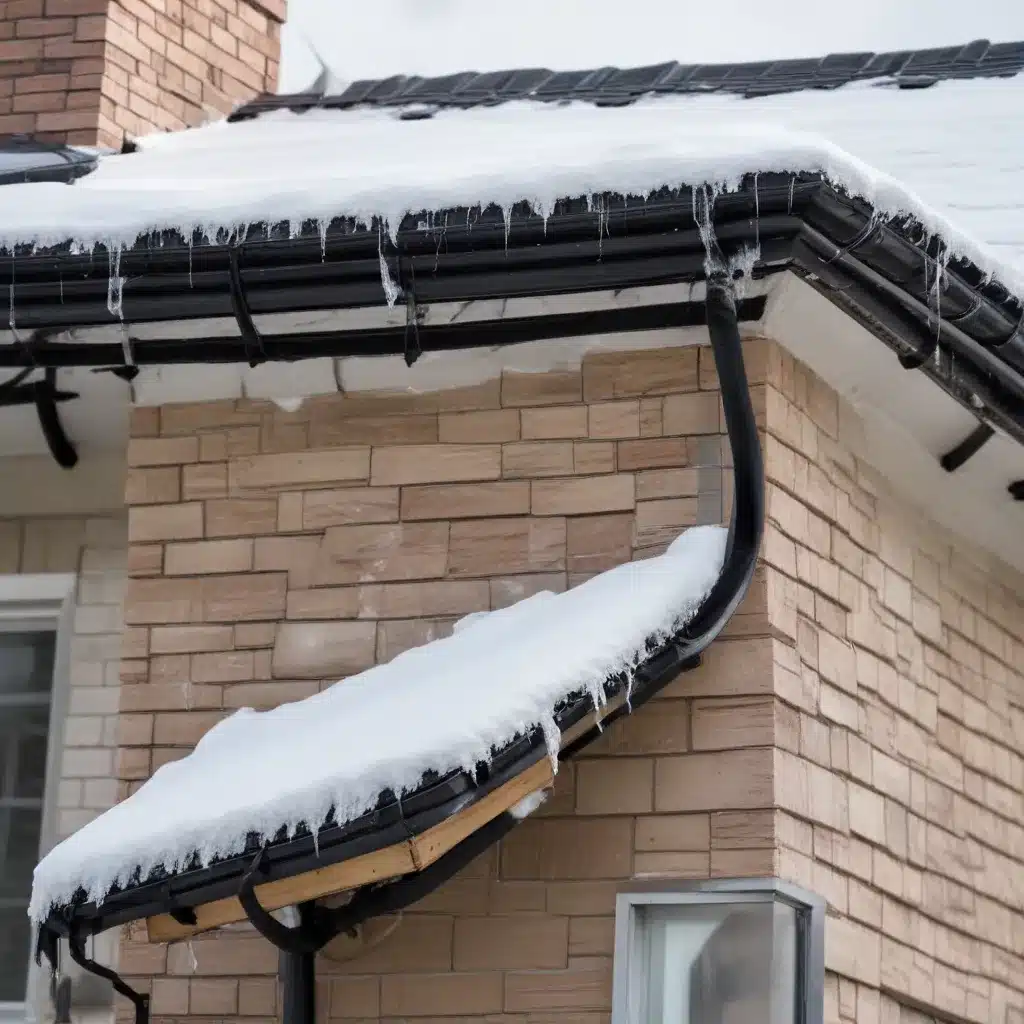
As a seasoned roofing professional, I’ve seen firsthand the havoc that ice dams can wreak on homes during the winter months. These frozen barriers at the edge of your roof can cause significant damage, from sagging gutters to water leaks that threaten the integrity of your home’s structure. However, roof heating cables offer an effective solution to this common problem, and in this comprehensive guide, I’ll walk you through the step-by-step process of installing them to keep your roof clear and your home protected.
Understanding the Importance of Roof Heating Cables
Ice dams form when heat escaping from your home melts the snow on the roof, which then refreezes at the colder eaves. This creates a barrier that prevents proper drainage, causing water to back up under the shingles and into your home. The consequences can be costly, ranging from water damage to your roof, walls, and even your home’s foundation.
Roof heating cables, also known as heat cables or de-icing cables, are designed to prevent this buildup of ice by creating a clear path for melting snow and ice to drain away from your home. These cables use electrical resistance to generate just enough heat to keep the roof surface warm, preventing the formation of ice dams and ensuring that water can flow freely off the roof and into the gutters.
Assessing Your Roof and Planning the Installation
Before you begin the installation process, it’s essential to assess your roof and determine the areas most prone to ice dam formation. Pay close attention to the following:
- The length of your roof’s edge
- The depth of your roof overhang
- The length of each dormer
- The length of each downspout
Using these measurements, you can calculate the amount of roof heating cable you’ll need to effectively cover your roof. As a general rule, plan for about five feet of cable per foot of roof edge.
In addition to the cables themselves, you’ll also need the following tools and materials:
- Shingle clips to secure the cables in place
- Cable spacers to maintain proper spacing
- A temperature and moisture sensor to control the system’s operation
- A GFCI-protected electrical outlet or the ability to install one
Step-by-Step Installation Guide
Now that you’ve gathered the necessary materials and assessed your roof, it’s time to begin the installation process. Follow these steps carefully to ensure a successful and safe installation:
1. Attach the Shingle Clips
Start by attaching the shingle clips to your roof, beginning at the edge and working your way up. Use a flathead screwdriver to secure the clips under the shingles, spacing them approximately 16 inches apart in a zigzag pattern.
2. Install the Heating Cable
With the clips in place, begin installing the heating cable at the roof’s edge, clipping it into the shingle clips and following the zigzag pattern. Make sure the cable extends slightly into the gutter to prevent ice formation there.
3. Properly Install the Downspouts
Carefully form a loop with the cable at the end of the gutter run, securing it with a clip, and then feed the cable down through the downspout, ensuring it reaches the bottom.
4. Mount the Temperature and Moisture Sensor
Choose a location on the side of your house that accurately represents the roof’s conditions, and use screws and a power drill to securely mount the sensor. Position it to detect both temperature and moisture accurately, as the moisture lead works together with the heat sensor to activate the system when necessary.
5. Connect to a Power Source
The final step involves connecting your ice-melting system to a power source. If possible, plug the system into an existing outdoor GFCI-protected outlet. If you don’t have an outlet, you may need to install an outdoor electrical box on your home’s exterior and run the electrical wire through the sill and into your basement, connecting it to a dedicated circuit on your home’s electrical panel.
Optimizing Your Roof Heating Cable System
While the installation process itself is crucial, there are additional steps you can take to maximize the effectiveness and longevity of your roof heating cable system:
Verify Local Building Codes and Regulations
Before starting any installation, be sure to check with your local building department to ensure compliance with any relevant codes or regulations. This will help ensure the safety and proper functioning of your system.
Select the Appropriate Heating Cable
Choose a heating cable that is specifically designed for your roof type and the weather conditions in your region. This will ensure optimal performance and prevent any compatibility issues.
Consider Hiring a Licensed Electrician
If you’re unsure about any aspect of the installation process or if it involves complex electrical work, it’s best to hire a licensed electrician. This will ensure the project is completed correctly and safely.
Maintain Your Roof Heating Cable System
Before each winter season, be sure to inspect your roof heating cable system for any signs of wear or damage. Additionally, consider supplementing your system with improved attic insulation and ventilation to reduce heat loss and maximize efficiency.
By following these steps and recommendations, you’ll be well on your way to preventing the formation of ice dams on your roof and protecting your home from the costly consequences. Remember, at Roofers in Northampton, we’re dedicated to providing our clients with the best possible roofing solutions, and we’re here to help you every step of the way.

